
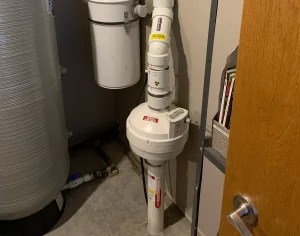




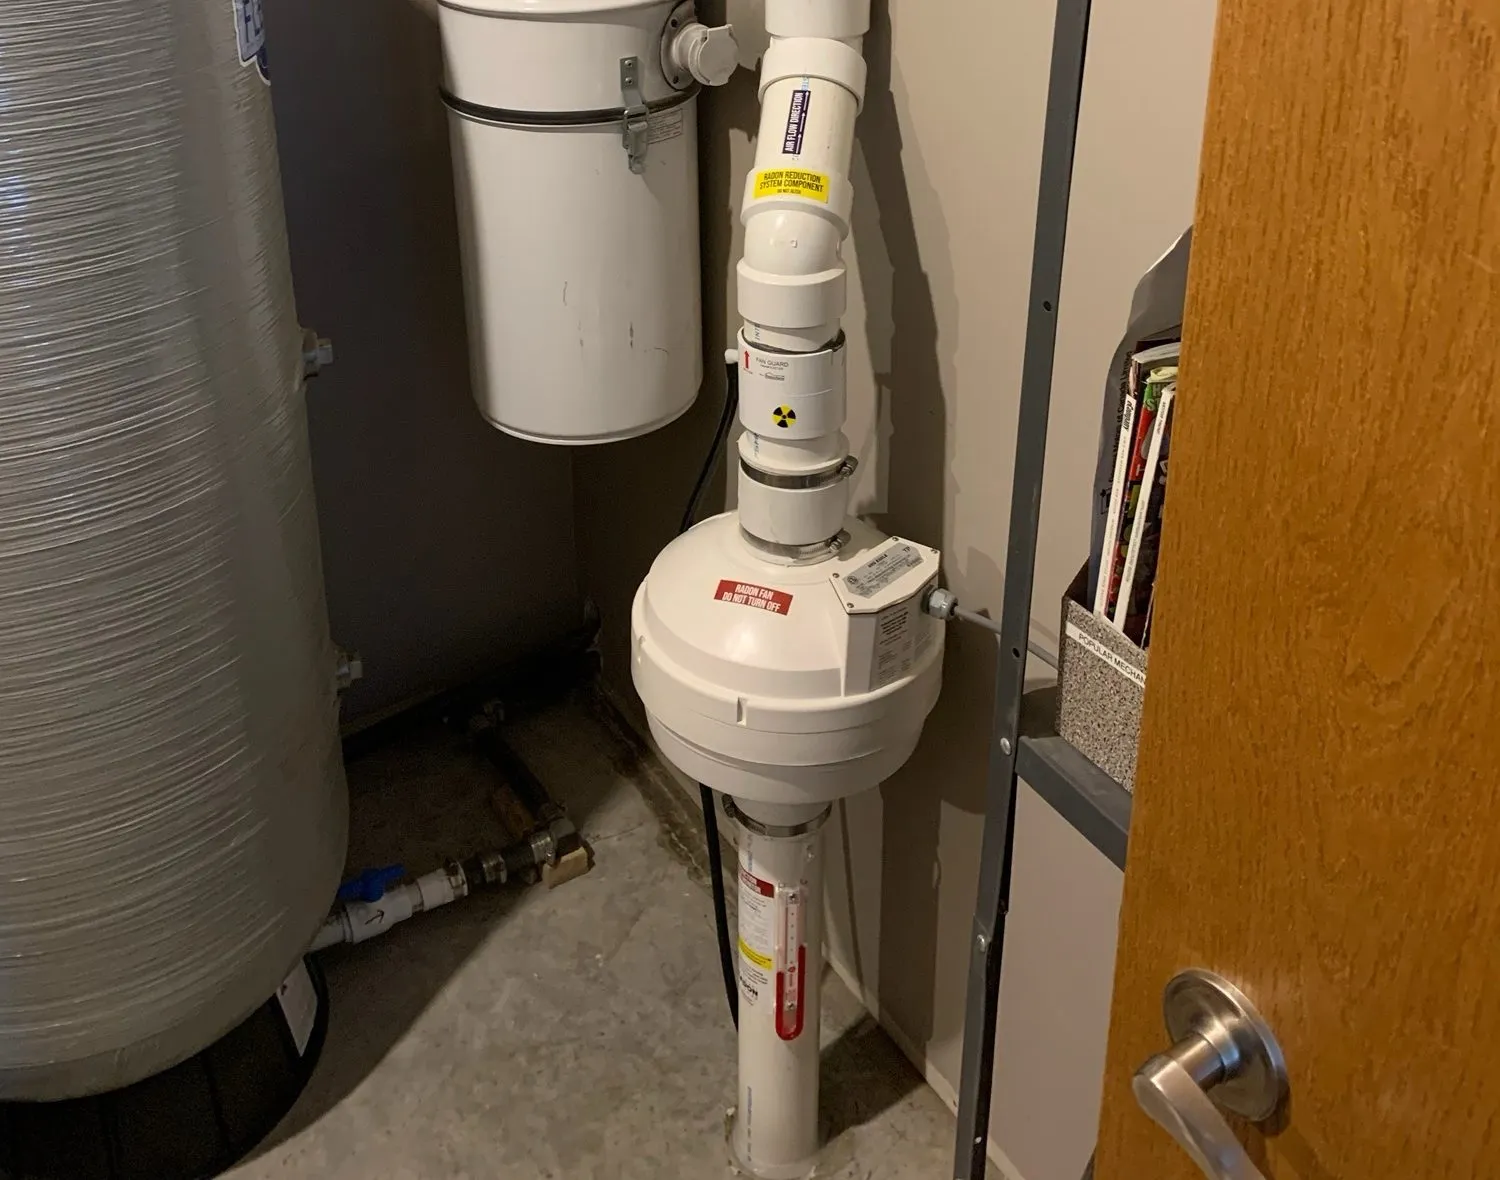
Choosing the right radon mitigation fan kit requires more than matching a fan to a pipe diameter. Contractors, inspectors, and homeowners must consider the building foundation, soil conditions, airflow requirements, installation location, and applicable codes. A properly selected kit can support dependable radon reduction while making installation and future maintenance easier.
Begin With Reliable Radon Test Results
Testing should always come before equipment selection. Radon levels can differ from one property to another and may change by season, weather, ventilation, and building use. A short-term test provides an initial reading, while a long-term test may present a clearer picture of average exposure.
If a test indicates elevated radon levels, review where the device was placed and whether the test followed accepted procedures. Home inspectors and mitigation specialists should document the initial result because it creates a baseline for post-installation testing.
Review the Foundation and Sub-Slab Conditions
The foundation affects how easily air can move beneath the building. A basement with a gravel layer beneath the slab may allow a fan to draw air from a wide area. Dense soil, compacted fill, multiple slabs, crawl spaces, or foundation additions can make airflow more difficult.
Before choosing a fan kit, identify:
- Foundation type and total footprint
- Number of slab sections
- Soil or fill material below the slab
- Existing sump pits and drainage systems
- Accessible locations for suction points
- Possible pipe routes and discharge locations
Some homes require one suction point, while larger or divided foundations may need additional points. Diagnostic pressure testing can help radon professionals determine whether one fan can create sufficient negative pressure across the affected area.
Match the Fan to the Required Airflow and Suction
A larger fan is not automatically the better choice. The correct fan must provide suitable airflow at the level of resistance created by the soil and piping system. A system with highly permeable material beneath the slab may need higher airflow at relatively low suction. Dense soil may require a fan capable of producing greater suction.
Oversizing can increase noise, energy consumption, and operating cost. Undersizing can leave parts of the slab without adequate pressure coverage. Contractors should use field measurements and the fan’s published performance information rather than relying only on the size of the home.
Check What the Kit Includes
A kit can reduce purchasing time, but installers should confirm that its components fit the planned system. Depending on the product and project, useful kit components may include:
- An inline radon fan
- A system pressure indicator
- Pipe connectors or flexible couplings
- Mounting hardware
- Warning or system identification labels
- Sealing accessories
- Installation instructions
PVC pipe, exterior supports, roof flashing, electrical wiring, and other job-specific materials may need to be purchased separately. Reviewing the complete materials list before arriving at the property helps prevent delays.
Plan a Safe Installation Location
Radon fans are generally installed outside the occupied space or in an unconditioned attic above the occupied area. This placement helps reduce the risk of radon-rich air leaking into living spaces if a pipe or fitting develops a problem.
The discharge point should be positioned according to local requirements and accepted radon mitigation practices. It must be kept away from windows, doors, air intakes, and other openings where discharged gas could reenter the building.
Installers should also consider service access. A fan mounted in a difficult location may increase the time and cost required for inspection or replacement. Exterior systems should be securely supported and protected from avoidable physical damage.
Address Electrical and Code Requirements
The fan requires continuous electrical power. Wiring methods, disconnect requirements, receptacle placement, and weather protection may vary by jurisdiction. Electrical work should comply with local codes and be completed by a qualified professional when required.
Local radon rules may also govern pipe routing, labeling, discharge height, monitoring devices, and post-installation testing. Contractors working across several municipalities should verify requirements for each location instead of assuming that one standard applies everywhere.
Test the Completed System
After installation, inspect pipe joints, seal slab openings, and confirm that the pressure indicator shows system operation. Listen for vibration or excessive airflow noise and correct loose supports or poorly positioned components.
A post-mitigation radon test is essential. It confirms whether the system reduced radon to the intended level and provides evidence of performance for the property owner. Record the fan model, installation date, initial reading, final reading, and recommended inspection schedule.
A well-planned radon system begins with accurate testing and equipment suited to the property. For fan kits and indoor air quality products designed for residential projects, visit Suncourts and review the available options before your next installation.
